Bloggy Tracking and watchOS 2.0
17 Oct 2015 · 📖 in 11 minutes The future of the watch looks SmartYup, if you didn't already know; I've bought the watch. I say the watch because you probably already know from the title it's an Apple watch. But I also say the watch as it's clear that the Apple Watch is smashing it with sales and although it's only got a measly 19.9% of the smart wearable market it's pretty clear that the watch is catching.
There are a ton of useful apps and when I've spent more time exploring them I'll be writing something about that (at the minute Strava and eBay are standout - outside of the hugely useful messages / phone etc).
SmartWatch Tracking
Like any tinkerer I wanted to see how it all hangs together and the only way I know how to do that is to jump in at the deep end and write an app. The watch apps are meant to be short-lived, snappy interactions that'll remove the need to look at your phone. Ok, challenge extended.
For the previous post about tracking I exposed a very simple API into the blog serve that enables me to view the last 5 user sessions, this was the live example on the page. This seems the perfect candidate for the watch app in that there's little data and the API is pretty much written.
WatchKit and Swift for beginners
So I've written some iOS / ObjectiveC apps before but it's been a while, which might work in my favour. Swift, for though who don't know, is Apple's latest addition to world domination in the form of it's own programming language. The general thinking is that Swift was an attempt to modernize the platform - personally I've never had an issue with ObjectiveC but then again I only worked with it for around 8 months.
The framework that underpins the watch is WatchKit and since watchOS 2 it allows developers to write native apps for the watch. Previously there was a tightly coupled symbiosis between the iPhone and the watch. The watch app was executed on the phone while rendering UI elements on the watch. This made for some pretty slow apps and lack of real integration with the watch hardware.
Anyway, less talking and lets get started. I began with a new WatchKit app in the shiny new XCode 7 - it's a free download from the Mac AppStore so if you've got a Mac / Hackintosh I recommend grabbing a copy and getting your hands dirty. I didn't select any of the Glances / Complication options, this can come later.
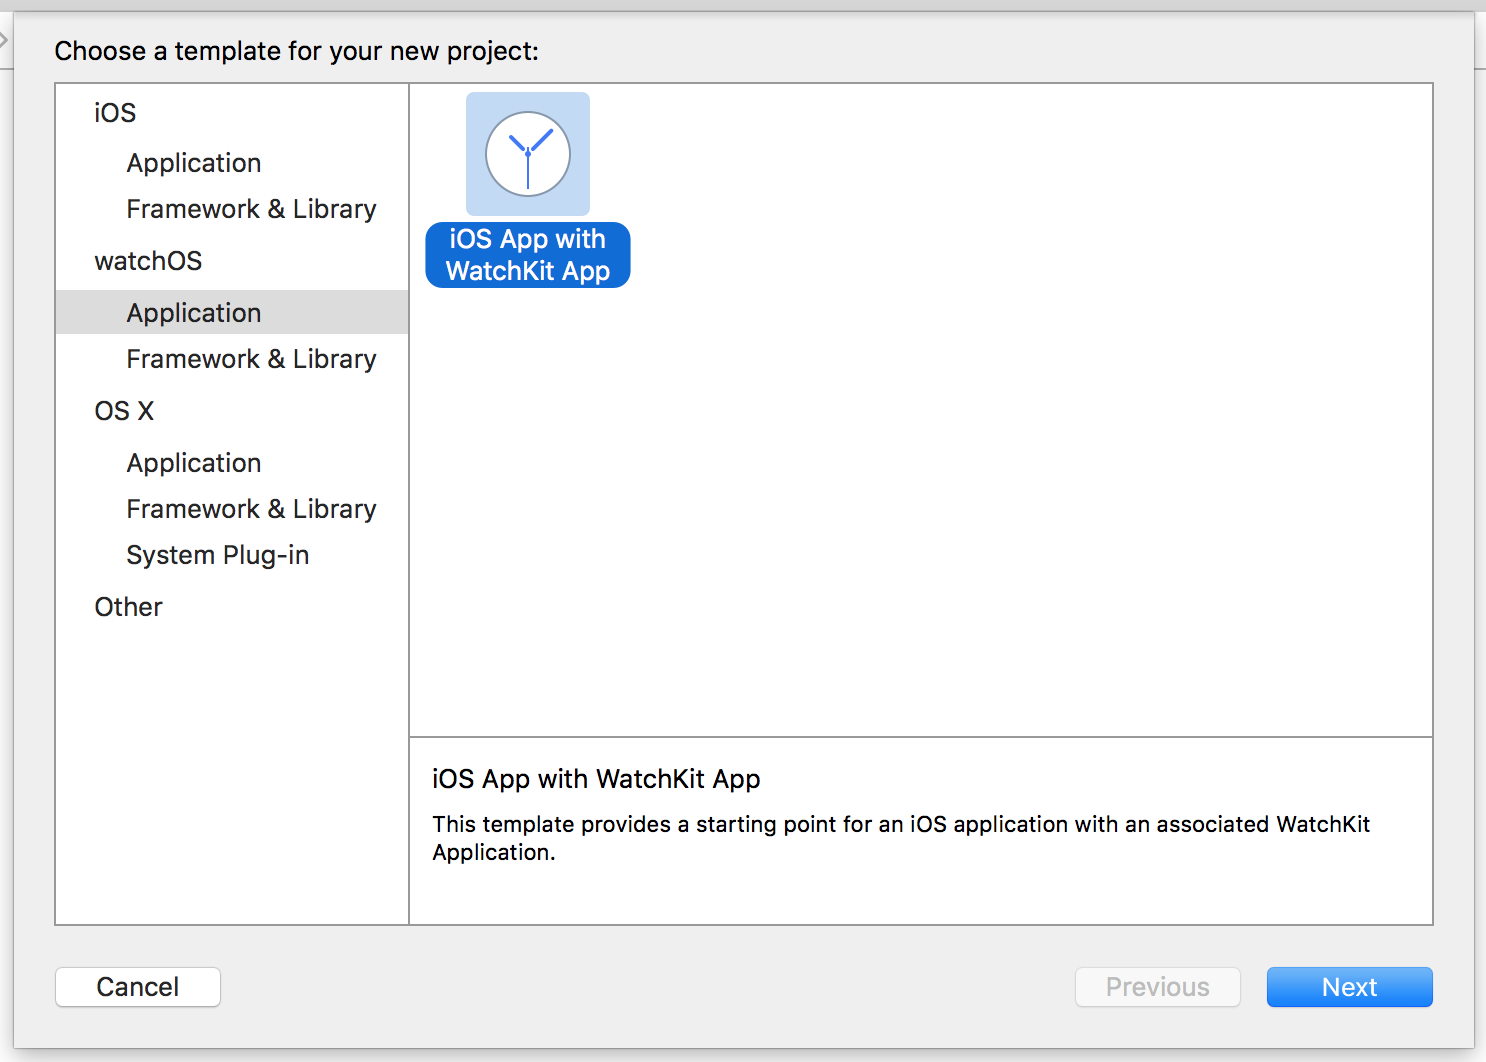
Simple UI Elements
To begin with I needed the simple data to display on the app. The simple data
was available but in a custom | delimited form - very handy for parsing.. said
no one ever. I wrote a new API that exposed the same bloggy tracking data as JSON.
This contains IP, timestamp, path visited and duration on page. Enough to play
around with in a watch app.
The aim was to display a list of IP addresses with their durations below. Initially I looked at a picker, which is one of the new watchOS 2 UI elements that resembles a revolving carousel, but not really what I was after. Instead I went for a table. This means I can surface a list of IP addresses, customise the cell to show their viewing duration below and then expand this data with a click through option to show more information like path and timestamp.
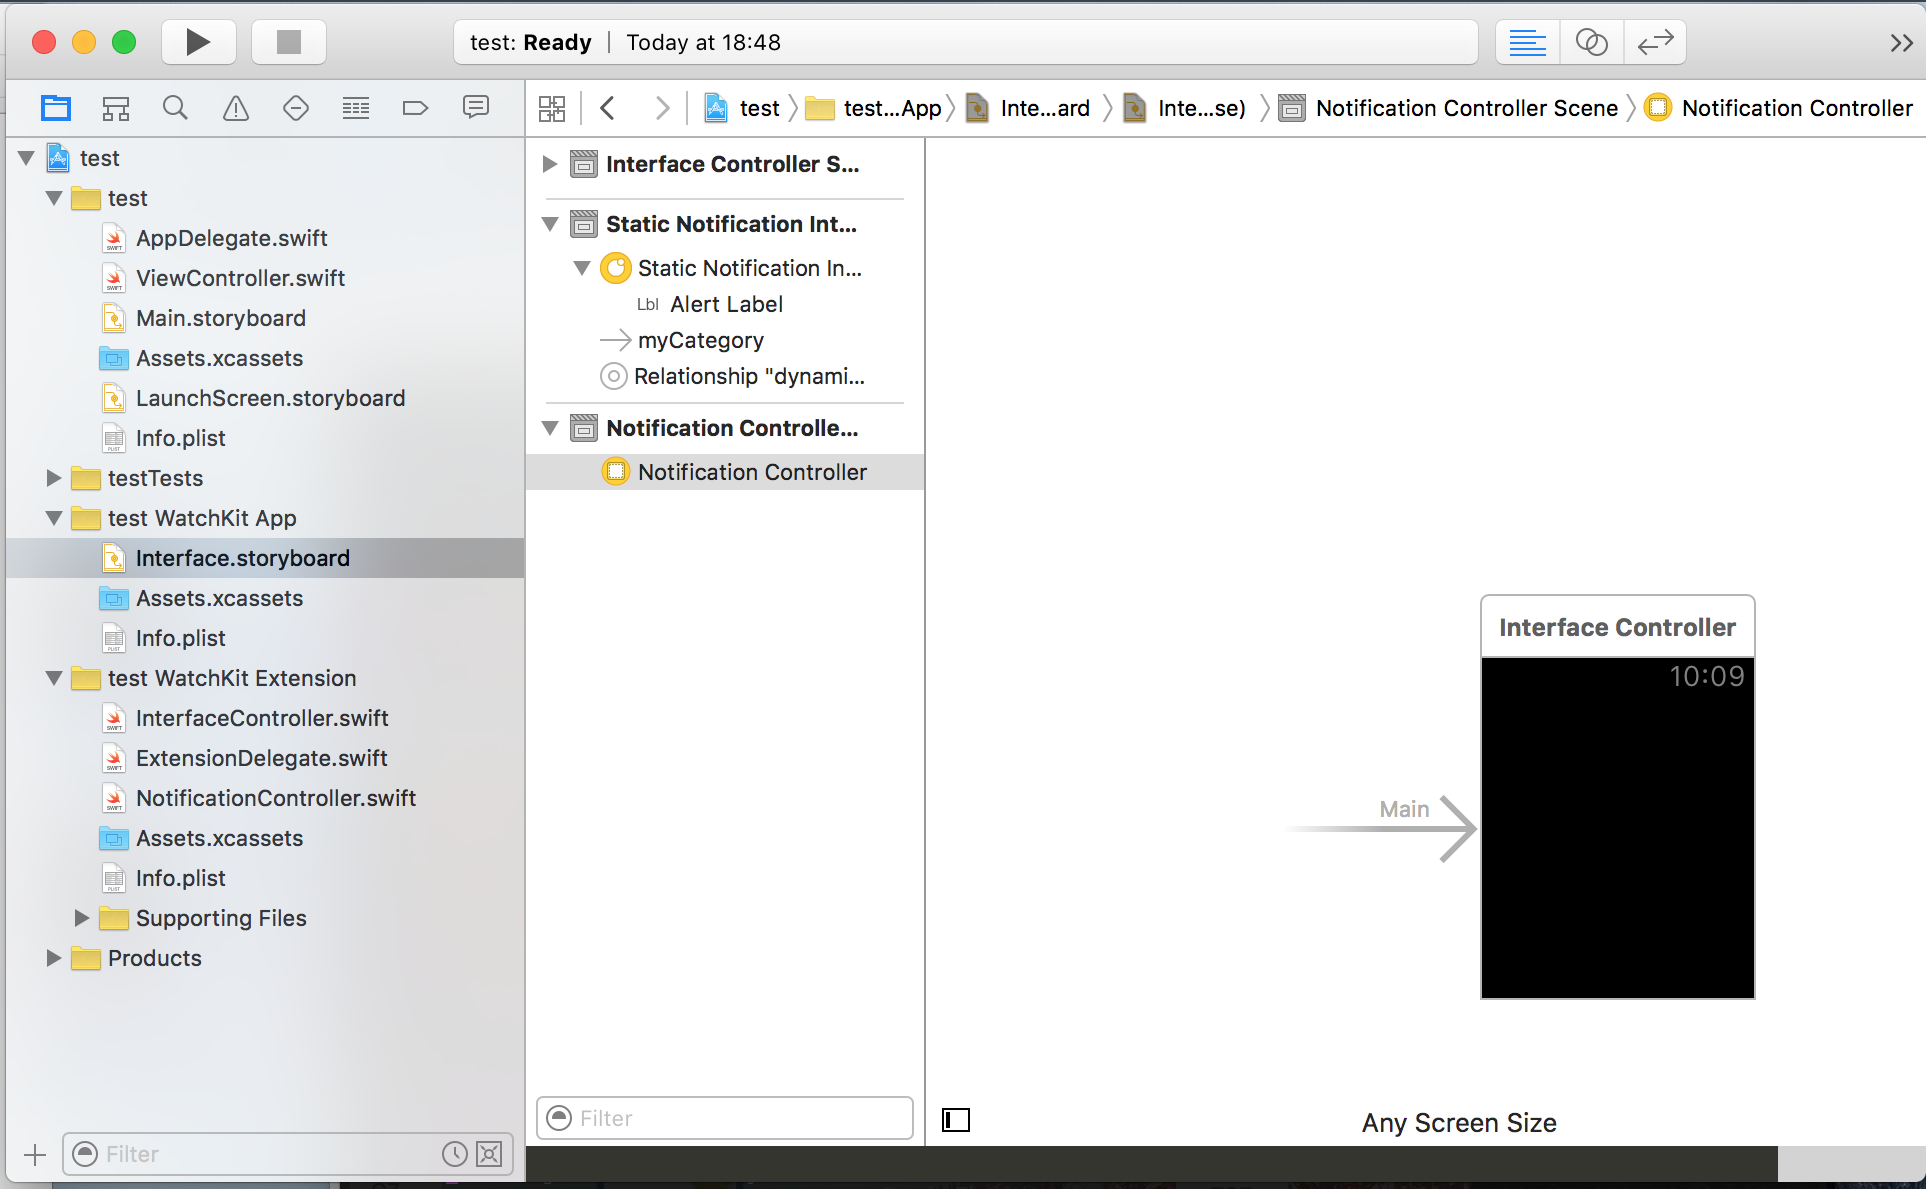
In the project navigator there're new WatchKit folders (groups) selecting the WatchKit App folder shows the Interface.storyboard for the new Watch App. Storybaords are nothing new and the usual approach of dragging UI elements onto the interface still holds.
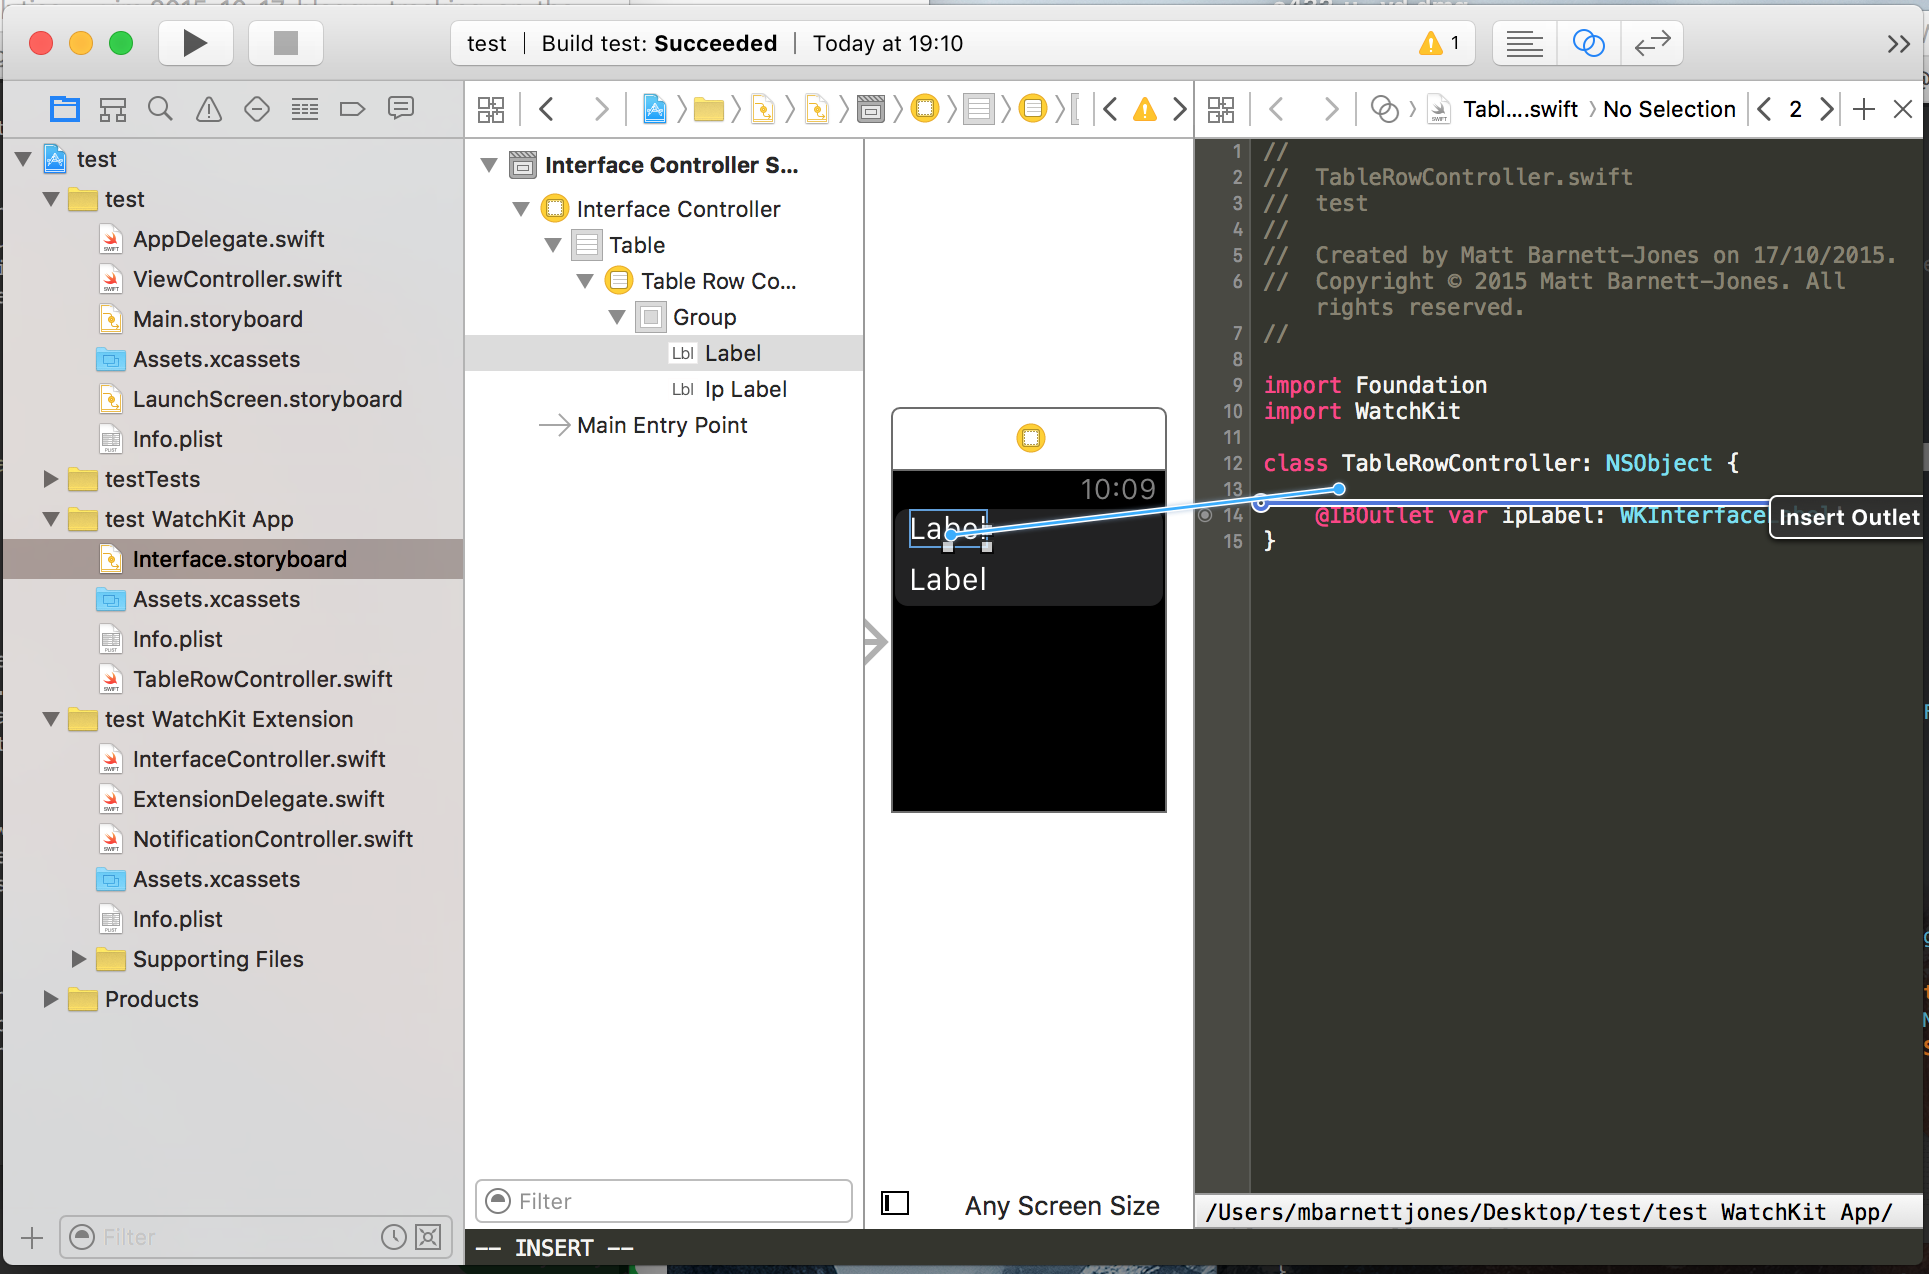
Wiring up the table took a little bit of work, it begins with dragging the table UI element onto the board. Next a little customisation of the row by dragging on some labels - these will be used for IP / duration fields. To set the text of these fields I created a new class to act as the TableRowControler and ctrl-drag the labels to create the outlets.
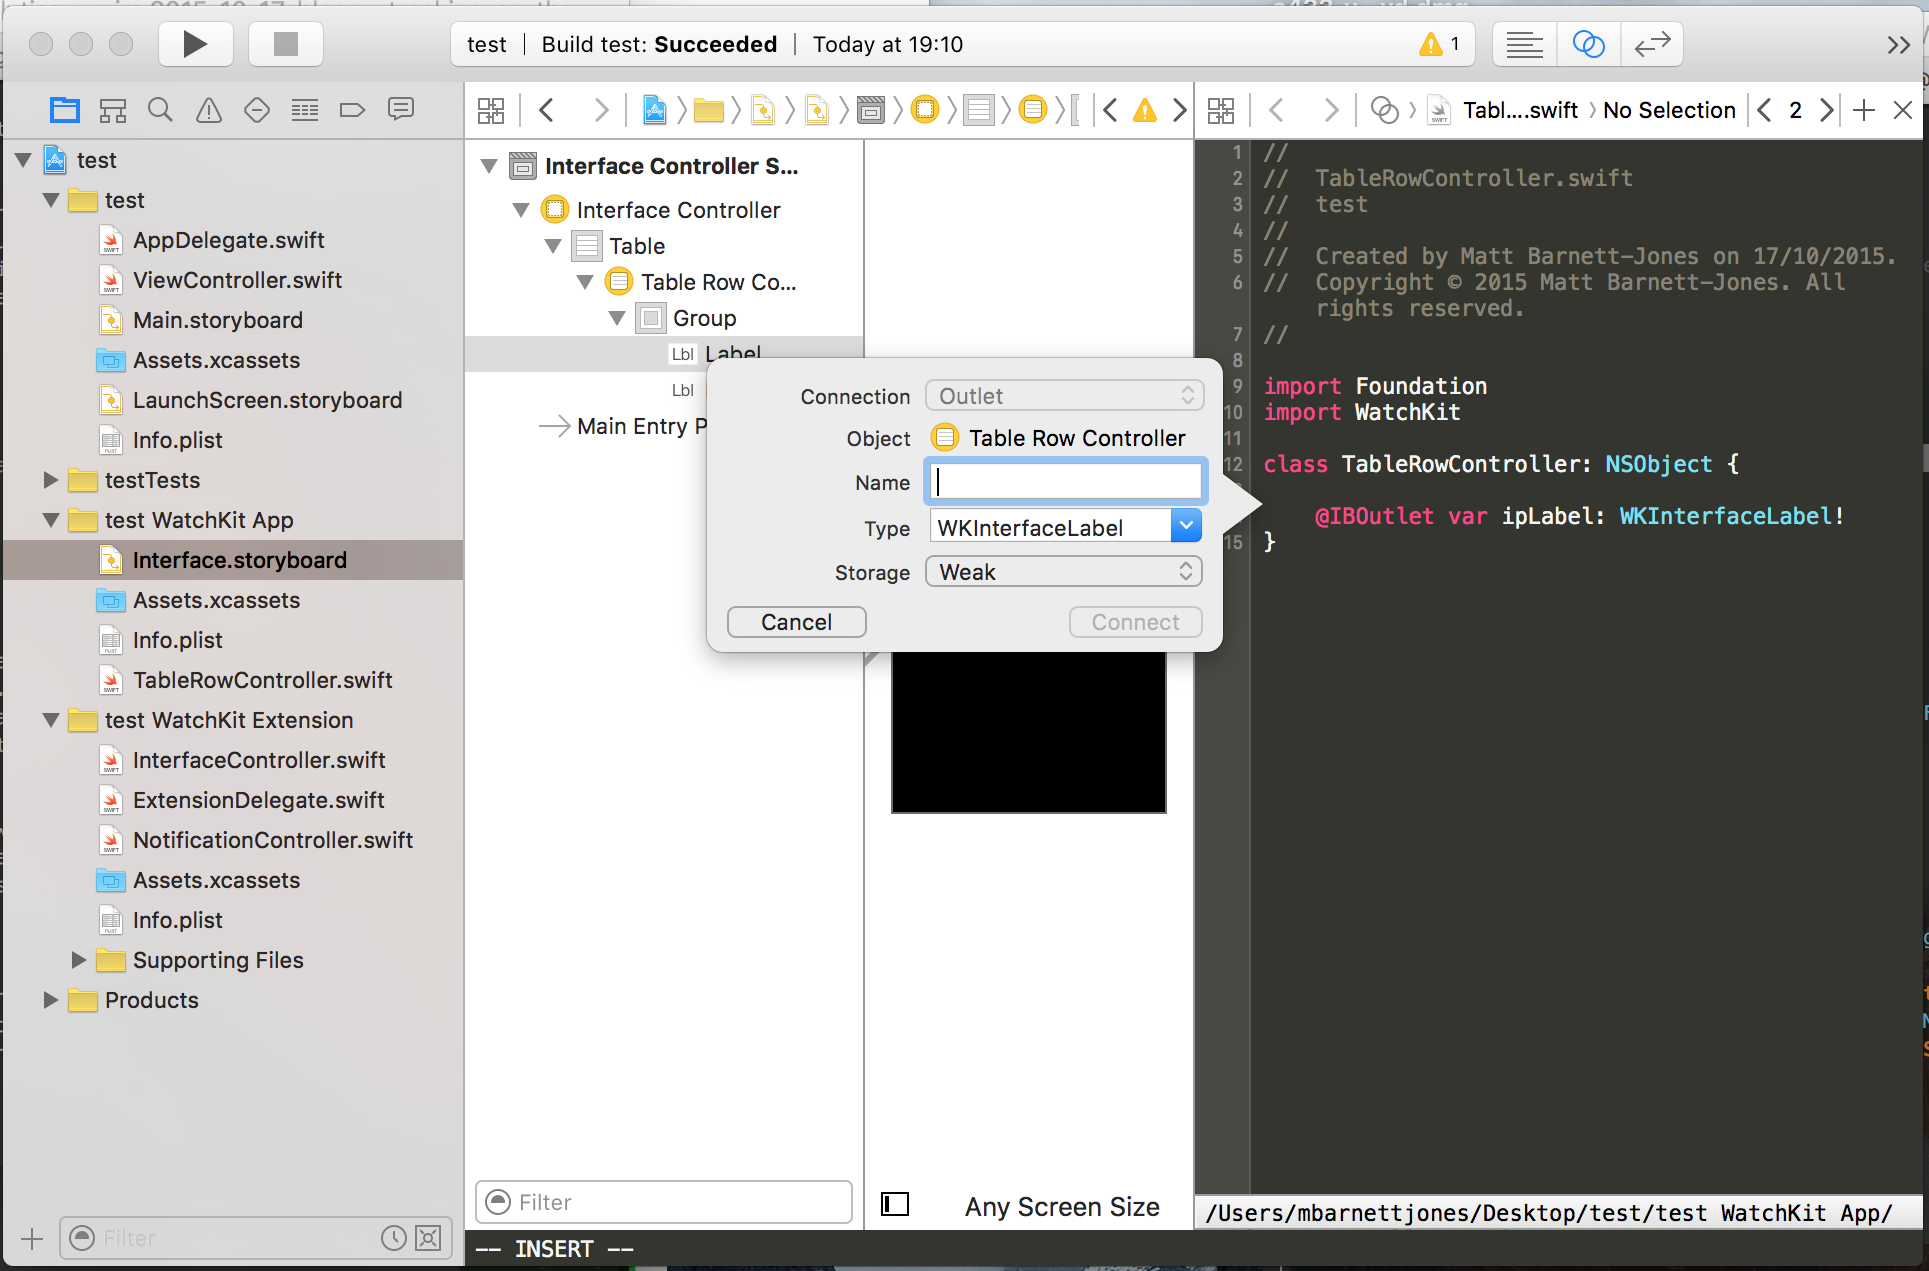
The other wiring up that needed doing was to use the custom TableRowController as the custom class - in Utilities -> Identity inspector. Similarly an Identifier needs to be provided. For simplicity I'll stick with the rather imaginitivey named TableRowController.
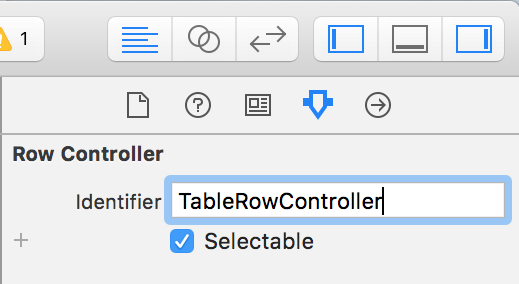
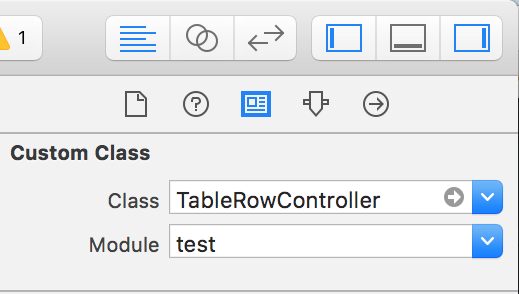
The last thing I need is another outlet for the table itself - this is put in
the InterfaceController class where the bulk of the logic is written.
With all the UI setup done next step is the data.
NSURLSession and Native HTTP requests
As I mentioned previously watchOS 2 enables native apps, this means the data requests are done on the watch rather than fronted by the iPhone and passed to the watch. I didn't have the pleasure of working on the first watchOS so I won't be drawing comparisons between old and new.
The approach to HTTP requests has changed a little from when I was first writing iOS as the NSURLConnection API has been deprecated. This is in favour of the new exciting NSURLSession class which is a new approach to HTTP requests with support for HTTP/2 and will be the standard going forward. More info on iOS 9 and HTTP requests can be found here in a WWDC '15 session.
What I found interesting is that in a watch App the NSURLSession API, given a WiFi signal of a known network, will make the request entirely independent of the iPhone. This is all handled by the framework of course but this really does empower the watch apps to be more than iPhone companion apps. Below is a sample of my first HTTP request written in Swift and for my WatchKit app!
let url = NSURL(string: "https://techram.co.uk/usage/json_sample")!
let request = NSURLRequest(URL: url)
let task = NSURLSession.sharedSession().dataTaskWithRequest(request){
(data: NSData?, reponse:NSURLResponse?, error:NSError?) in
    let userData = NSString(data:data!, encoding:NSUTF8StringEncoding) as! String
    print("Data: ", userData)
    self.parseJson(data!)
    self.updateTableItems();
}
task.resume()
This code is placed inside the awakeWithContext function from the
InterfaceController class in the WatchKit Extension folder - this feels like
the watch equivalent of the iOS ViewController (there is also an
ExtensionDelegate but I didn't need to make any changes here, I imagine that'll
come later when I start to worry about lifecycle).
The API exposes the data as JSON so I have a simple parser that will generate
an NSDictionary and store it for later. Below is the func, you'll also notice
I've used a do-try-catch here, according to Xcode the JSONObjectWithData
throws AnyObject. It's been that long since I've done ObjectiveC that I can't
even remember how the try-catch worked, if any, but the form is a little
different from the usual you might see in Java / JavaScript. I quite like it,
as you can be very clear about what exactly you are trying which I would
imagine will benefit debugging.
func parseJson(data: NSData) {
    do{
        let jsonObject : AnyObject! = try NSJSONSerialization.JSONObjectWithData(data,
            options: NSJSONReadingOptions.MutableContainers)
        self.userData = jsonObject as! NSArray
    }catch let error as NSError{
        log(error.description)
    }
}
So at this point I have a UI that's setup with a custom table cell. I've also made the data call and passed the response to my JSON parser - a quick run of this with the appropriate breakpoint shows the data is coming through correctly.
Next I need to tie it all together!
Updating the table
The table setup itself is actually pretty straightforward. First the number of rows is set with:
self.dataTable.setNumberOfRows(self.userData.count, withRowType:"TableController")
The key thing to highlight here is the withRowType: parameter, this needs to
have a corresponding entry on the storyboard as the Identifier for the
TableRowController. (This is vital as it will break when you try and use the
table otherwise, as I learnt the hard way.)
All that's left now is a loop around the NSArray that's holding all my data
to populate the rows. Again for some more new syntax, this time a for loop in
Swift.
for i in 0...self.userData.count-1 {
    let userInfo = self.userData[i] as! NSDictionary
    let ip = userInfo.objectForKey("ip") as! String
    let duration = userInfo.objectForKey("duration") as! String
    let durationInMin = Int(duration)! / 1000
    let row = self.dataTable.rowControllerAtIndex(i) as! TableController
    row.topLabel.setText(ip)
    row.bottomLabel.setText("duration: \(durationInMin)")
}
So that for loop, not sure I'm a fan of the ... although not having to declare
in the usual var i = 0; i < length; i++ is certainly welcome. I will explore
the for-in syntax next time I write anything as that's usually my preference.
The bulk of that code it retrieving the values from the NSDictionary however,
the last 3 statements deal with the table row assignment. Again it's a pretty simple API,
first grab the row at an index with rowControllerAtIndex() this returns
a TableViewController which is where I previously created outlets for the
labels. Then it's a simple function call setText() to populate the labels with
the data.
Lets see what I end up with!
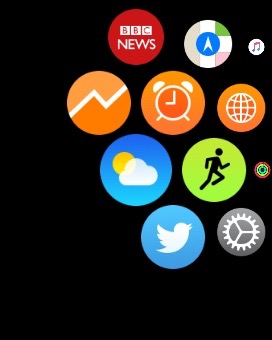
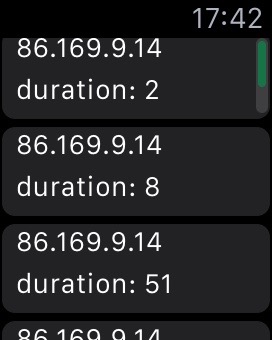
So there it is, I generated a little icon from a site called MakeAppicon which will take an input image and generate all the image sizes you need watchOS, iPhone, iPad or OS X.
I actually went a little further than this with a tap select that opened an Alert, but I'll save that for another post.
Thoughts so far?
If I'm honest, I'm surprised it took me this long to try Swift. Initially the
syntax was a little confusing especially the as! or as? casting but I had
a read of Type Casting in Swift
and things started to make a little sense.
I love the watch and I can think of loads of quick interactions that I'd love to have on my wrist. If we start to see the Spotify or Sonos watch apps that'll make for some effortless control - similarly with the third party complications.
Although this was more skunkworks than anything else it's given me a taste for the watch. It took me around 4 hours to write this little watch App (but some of that time was spent compiling sqlite3 for my raspberry pi for another project) which isn't really that bad starting from scratch. There are a few gotchas; for instance by default clear HTTP requests aren't permitted, luckily I'm firmly in the camp of encrypt everything so that's something to look out for.
As Xcode is free you have no excuse not to try it out and who knows, maybe playing with the emulator may convince you it's worth the purchase of a watch...
First appeared on Trusty Interior, last update 2 Nov 2024